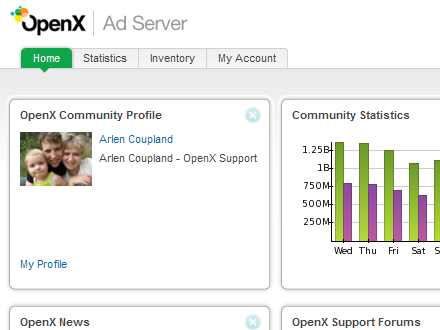
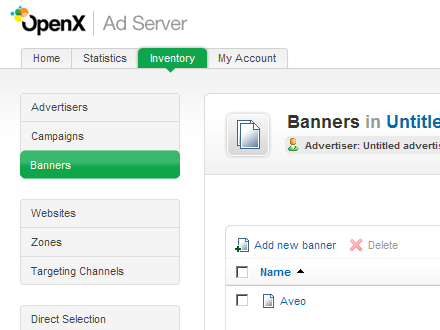
Step 1. LOG IN to your OpenX software and CLICK on the “Inventory” tab:
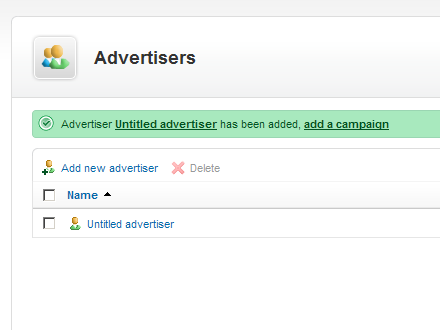
Step 2. CLICK on the “Add new advertiser” tab on the “Advertises” page:

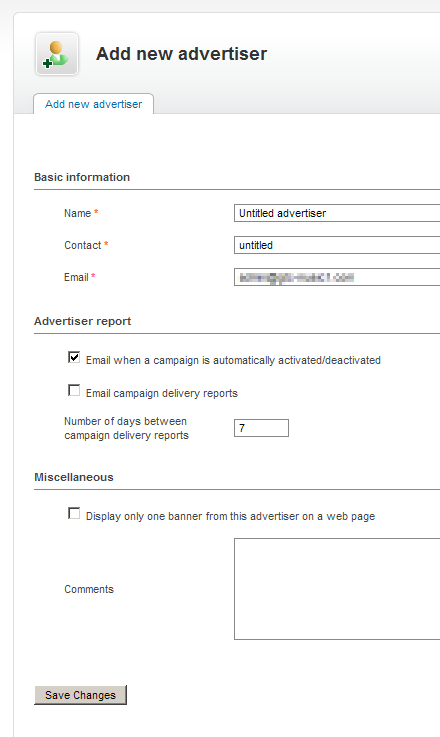
Step 3. FILL OUT all neccessary fields and CLICK on “Save Changes”:
Step 4. CLICK on the “Add new campagin” link near the added advertiser, on the “Advertises” page:
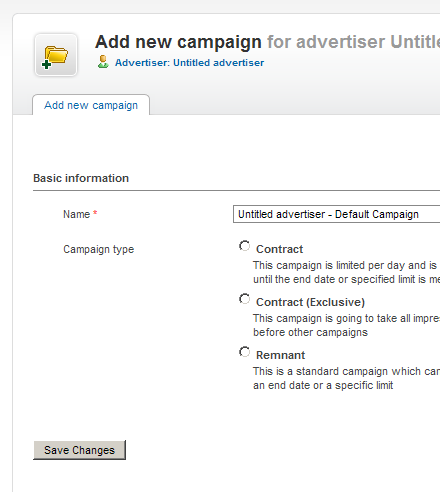
Step 5. FILL OUT all neccessary fields and CLICK on “Save Changes”:
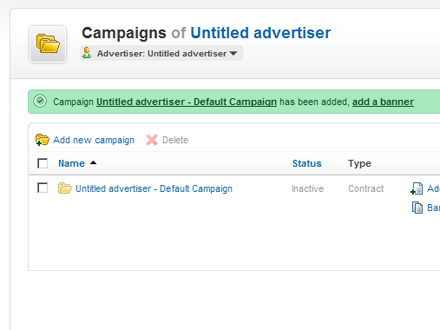
Step 6. CLICK on the “Add new banner” link near the added campaign, on the “Campaigns” page:
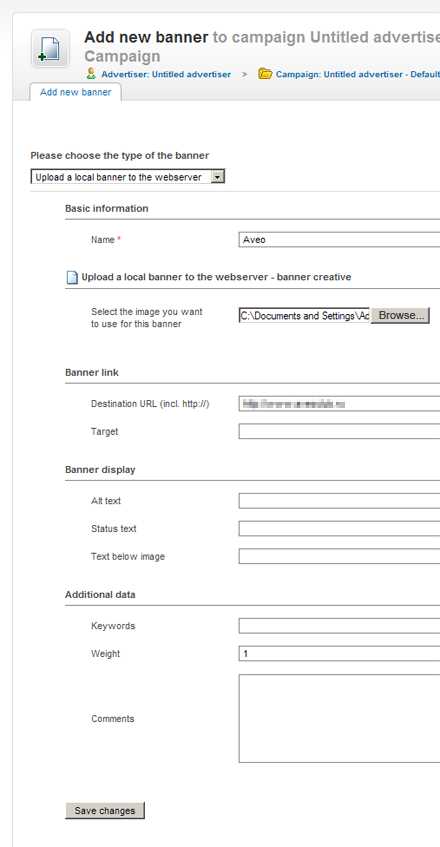
Step 7. FILL OUT all neccessary fields, choose a banner for uploading and CLICK on “Save Changes”:
Step 8. CLICK on the “Websites” link in the left column:
Step 9. CLICK on the “Add new website” link on the “Websites” page:

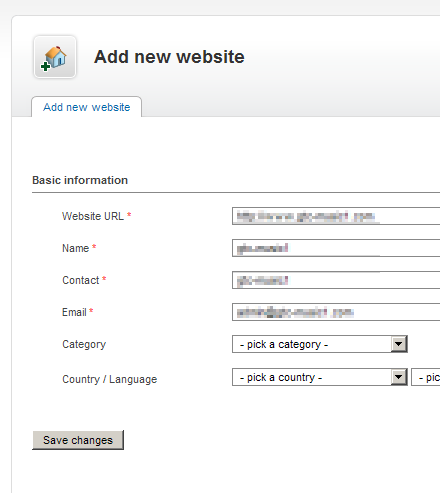
Step 10. FILL OUT all neccessary fields and CLICK on “Save Changes”:
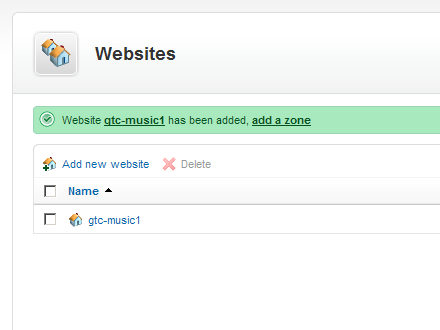
Step 11. CLICK on the “Add new zone” link near the added website, on the “Websites” page:
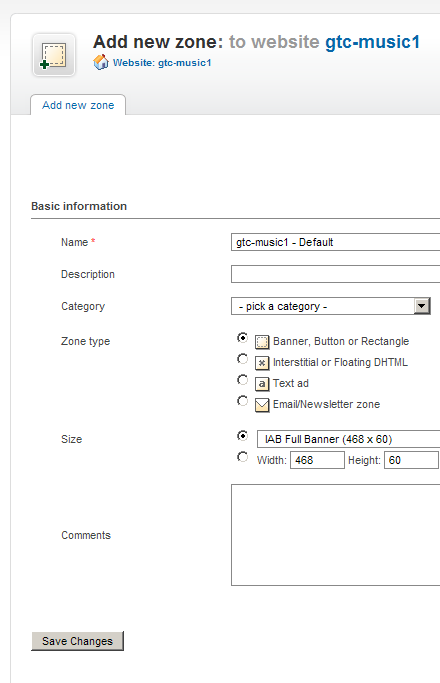
Step 12. FILL OUT all neccessary fields, SET dimensions of the zone (it should be the same as the dimensions of your banner(s)) and CLICK on “Save Changes”:
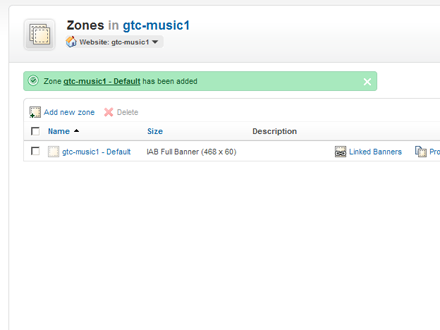
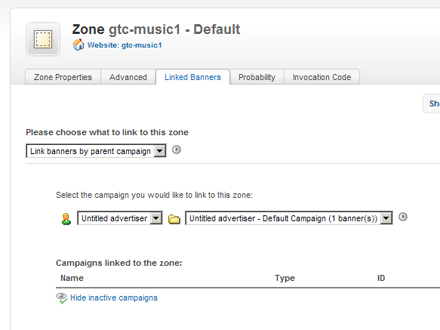
Step 13. CLICK on the “Linked Banners” link near the added zone, on the “Zones” page:
Step 14. CHOOSE an advertiser and a campaign to add them to the created zone:
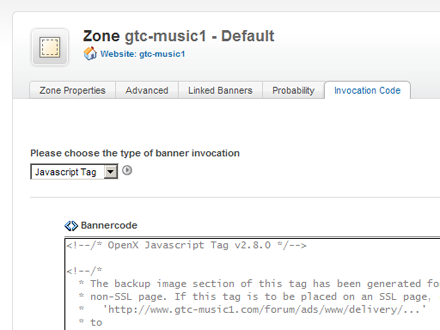
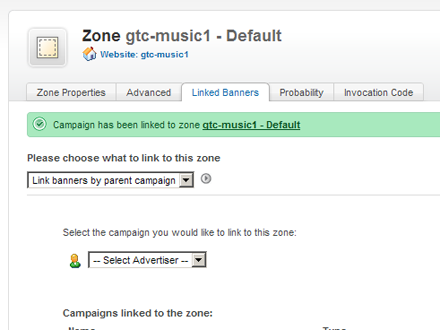
Step 15. The campaign is added. CLICK on the “Invocation code” tab to get the HTML code of the zone, to use it on your website:
Step 16. SELECT the type of the code (Javascript Tag is recommended) and COPY it to your website's template into the place, where you'd like your banner to be displayed: